どうも、Tです。
全文検索システムのFessをインストールしてみた備忘録です。
目次
やりたいこと
ファイルやWebサイトにため込んだナレッジを一括検索したいなぁと調べたところ、Fessが使えそうだったのでインストールしてみました。
Fessが何か?というのは、いろんなサイトで説明されているので割愛します。
下記が公式サイトになります。


FessはOSSですが、Fess商用版のN2 Searchというものもありました。というか、N2 SearchがFessを作って、それを商用版N2 Searchを提供している感じかな?


FessはOSにインストールだったり、Dockerだったりいろいろなインストール方法を提供しており、ネットの情報もバラバラだったので戸惑いました。
今回は、使い捨てではなく、ちゃんと本番として利用できるようRPMパッケージを使ったインストールを試していきます。
環境
バージョン情報
Oracle Linux(最小限インストール)
# cat /etc/oracle-release
Oracle Linux Server release 9.6
# uname -a
Linux k-fess 6.12.0-1.23.3.2.el9uek.x86_64 #1 SMP PREEMPT_DYNAMIC Tue May 13 17:24:00 PDT 2025 x86_64 x86_64 x86_64 GNU/Linux
Fess
# dnf list installed | grep fess
fess.noarch 15.1.0-1 @@commandline
OpenSearch
# dnf list installed | grep opensearch
opensearch.x86_64 3.1.0-1 @@commandline
Fessのバージョン注意
Fessは、OpenSearchと連携して動作するため、Opensearchのインストールも必要になります。明確な情報はありませんが、FessとOpensearchのバージョンの組み合わせは合わせておく必要があるようです。
Fessから提供されているOpenSearchプラグインのpom.xmlを見るとOpenSearchのバージョンが指定されているため、ずれるとインストールできなさそうです。
<opensearch.version>3.1.0</opensearch.version>

現在、最新のFess 15.1.0をインストールしますが、ダウンロードサイトでは、OpenSearch 3.0.0と記載されていますが、おそらくこちらは間違いです。


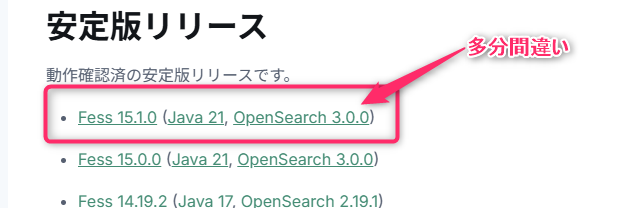
GitHubの方では、OpenSearch 3.1と記載があります。

We’re pleased to announce the release of Fess 15.1.0. This version adds support for OpenSearch 3.1 and includes several improvements in SSO handling, thumbnail processing, and crawling control.
ということで、今回はFess 15.1.0+OpenSearch 3.1の組み合わせで進めます。
OpenSearchのバージョン注意
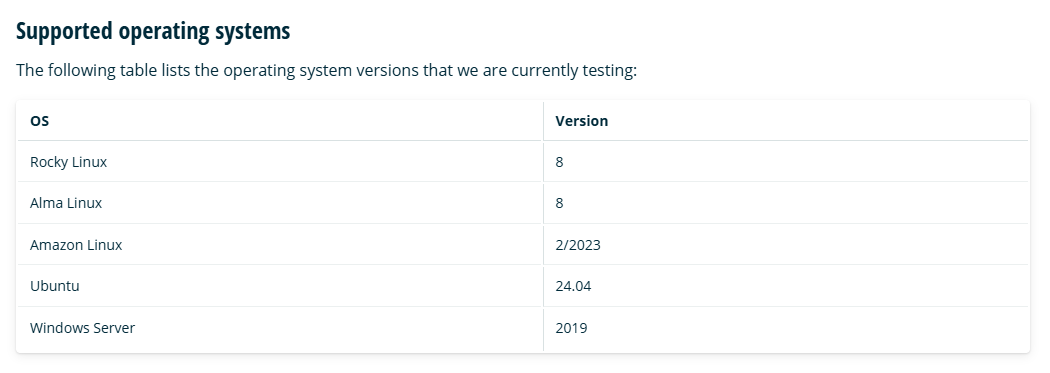
OpenSearch 3.1を使うといいましたが、今回使っているOracle Linux 9(RHEL互換 9系)はサポートされていません。
ただ、今更8系を使うのも微妙なので、9系で進めていきます。


商用版のN2 searchでもバージョン指定なく幅広く対応しているようです。


事前準備
事前に下記設定を行っています。なお、手順はすべてrootユーザーで操作しています。
SELinux無効化
SELinuxを無効にし、OS再起動で反映します。
# sudo grubby --update-kernel ALL --args selinux=0

# reboot
SELinuxが無効であることを確認します。
# getenforce
Disabled
Firewalld無効化
Firewalldの自動起動を無効にし、停止します。
# systemctl disable --now firewalld
Firewalldが停止していることを確認します。
# systemctl status firewalld
○ firewalld.service - firewalld - dynamic firewall daemon
Loaded: loaded (/usr/lib/systemd/system/firewalld.service; disabled; preset: enabled)
Active: inactive (dead)
Docs: man:firewalld(1)
OpenJDKインストール
FessではJava21が必要です。RHEL 9互換系ではJava21が標準パッケージで提供されています。


OpenJDKをインストールします。
# dnf install java-21-openjdk.x86_64
バージョンを確認しておきます。
# java -version
openjdk version "21.0.8" 2025-07-15 LTS
OpenJDK Runtime Environment (Red_Hat-21.0.8.0.9-1.0.1) (build 21.0.8+9-LTS)
OpenJDK 64-Bit Server VM (Red_Hat-21.0.8.0.9-1.0.1) (build 21.0.8+9-LTS, mixed mode, sharing)
OpenSearchインストール
OpenSearchをインストールします。
vm.max_map_count設定
OpenSearchでは、vm.max_map_countをデフォルト値から大きくする必要があります。


プロセスが使用可能なメモリマップ(mmap)領域の最大数を指定するカーネルパラメーターです。


現在の値を確認しておきます。
# cat /proc/sys/vm/max_map_count
65530
カーネルパラメーターを設定します。
# vi /etc/sysctl.conf
下記を追記します。
vm.max_map_count=262144
設定をカーネルに読み込みます。設定した値が表示されます。
# sysctl -p
vm.max_map_count = 262144
念のため値が増えていることを確認します。
# cat /proc/sys/vm/max_map_count
262144
OpenSearchダウンロード
下記からインストールファイルの「opensearch-3.1.0-linux-x64.rpm」をダウンロードします。


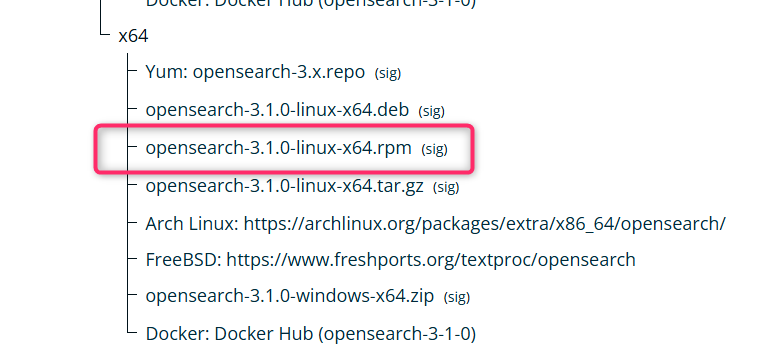
ダウンロードしたファイルを適当な作業フォルダに保存しておきます。
# mkdir -p ~/work/fess
# cd ~/work/fess
# ls
opensearch-3.1.0-linux-x64.rpm
OpenSearchインストール
下記のドキュメントを参考に、OpenSearchをインストールします。


OpenSearchをインストールします。
# dnf install ./opensearch-3.1.0-linux-x64.rpm
--割愛--
Complete!
OPENSEARCH_INITIAL_ADMIN_PASSWORDについて
ドキュメントの通りにすれば、OpenSearch 2.12以降では、下記のコマンドでインストールするのが正しいです。
env OPENSEARCH_INITIAL_ADMIN_PASSWORD=<任意のパスワード> dnf install ./opensearch-3.1.0-linux-x64.rpm
OPENSEARCH_INITIAL_ADMIN_PASSWORDは、OpenSearchのセキュリティ機能で接続に用いるadminユーザー認証のパスワードを指定しています。
Fessでは公式手順でOpenSearchのセキュリティ機能を明示的に無効にするようにし、OpenSearchのユーザーもパスワードも使用しないため指定せずインストールしています。
Fessの公式手順に則っていますが、他の用途であればOpenSearchはセキュリティ機能を有効にし、パスワードも設定するのが望ましいです。
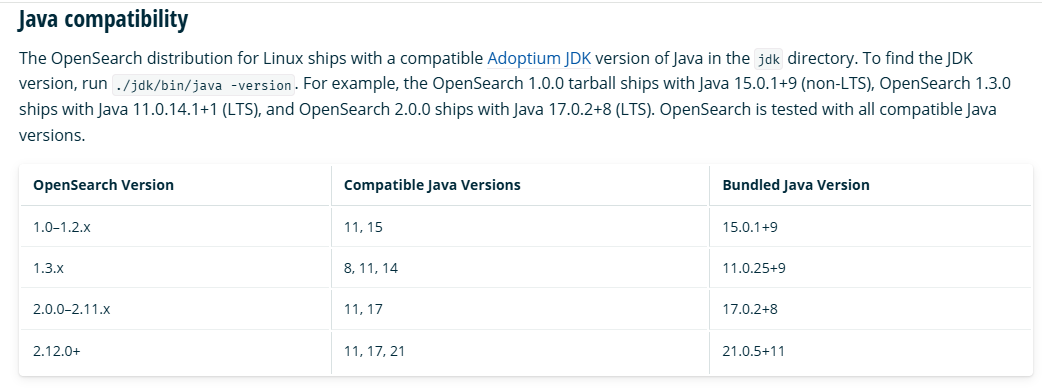
https://docs.opensearch.org/3.1/install-and-configure/install-opensearch/index/#java-compatibility
OpenSearch設定
Fess向けのOpenSearchを設定します。
# vi /etc/opensearch/opensearch.yml
末尾に下記を追記します。
configsync.config_path: /var/lib/opensearch/data/config/
plugins.security.disabled: true
OpenSearch側の設定に入れていますが、Fessが利用する設定値です。おそらく、Fessが提供しているopensearch-configsyncプラグインが利用していると思われます。
plugins.security.disabledについて
OpenSearchのセキュリティ機能を無効にしています。
https://docs.opensearch.org/latest/security/configuration/disable-enable-security/
詳しくは、Appendixに記載しました。
Fessインストール
Fessドキュメントの「RPM/DEB版でのインストール」を参考にインストールしていきます。OpenSearchはインストールしているので、Fessのインストールを行います。

OpenSearchのプラグインインストール
Fessが提供しているOpenSearchプラグインをインストールします。
# /usr/share/opensearch/bin/opensearch-plugin install org.codelibs.opensearch:opensearch-analysis-fess:3.1.0
# /usr/share/opensearch/bin/opensearch-plugin install org.codelibs.opensearch:opensearch-analysis-extension:3.1.0
# /usr/share/opensearch/bin/opensearch-plugin install org.codelibs.opensearch:opensearch-minhash:3.1.0
# /usr/share/opensearch/bin/opensearch-plugin install org.codelibs.opensearch:opensearch-configsync:3.1.0
プラグインがインストールされていることを確認します。
# /usr/share/opensearch/bin/opensearch-plugin list
analysis-extension
analysis-fess
configsync
minhash
opensearch-alerting
opensearch-anomaly-detection
opensearch-asynchronous-search
opensearch-cross-cluster-replication
opensearch-custom-codecs
opensearch-flow-framework
opensearch-geospatial
opensearch-index-management
opensearch-job-scheduler
opensearch-knn
opensearch-ltr
opensearch-ml
opensearch-neural-search
opensearch-notifications
opensearch-notifications-core
opensearch-observability
opensearch-performance-analyzer
opensearch-reports-scheduler
opensearch-search-relevance
opensearch-security
opensearch-security-analytics
opensearch-skills
opensearch-sql
opensearch-system-templates
opensearch-ubi
query-insights
Fessダウンロード
下記の下部のリンクからFessのインストールファイル「fess-15.1.0.rpm 」をダウンロードします。

ダウンロードしたファイルを適当な作業フォルダに保存しておきます。
# cd ~/work/fess
# ls
fess-15.1.0.rpm  opensearch-3.1.0-linux-x64.rpm
Fessインストール
Fessをインストールします。
# dnf install ./fess-15.1.0.rpm
--割愛--
Complete!
Fessの起動に使用されるスクリプトを修正します。
# vi /usr/share/fess/bin/fess.in.sh
下記のように修正します。
---修正前
# External opensearch cluster
#SEARCH_ENGINE_HTTP_URL=http://localhost:9200
#FESS_DICTIONARY_PATH=/var/lib/opensearch/config/

---修正後
# External opensearch cluster
SEARCH_ENGINE_HTTP_URL=http://localhost:9200
FESS_DICTIONARY_PATH=/var/lib/opensearch/data/config/
Opensearch+Fess起動
起動確認
OpenSearch、Fessを起動しステータスを確認します。
# systemctl start opensearch.service
# systemctl status opensearch.service
# systemctl start fess.service
# systemctl status fess.service
ログイン確認
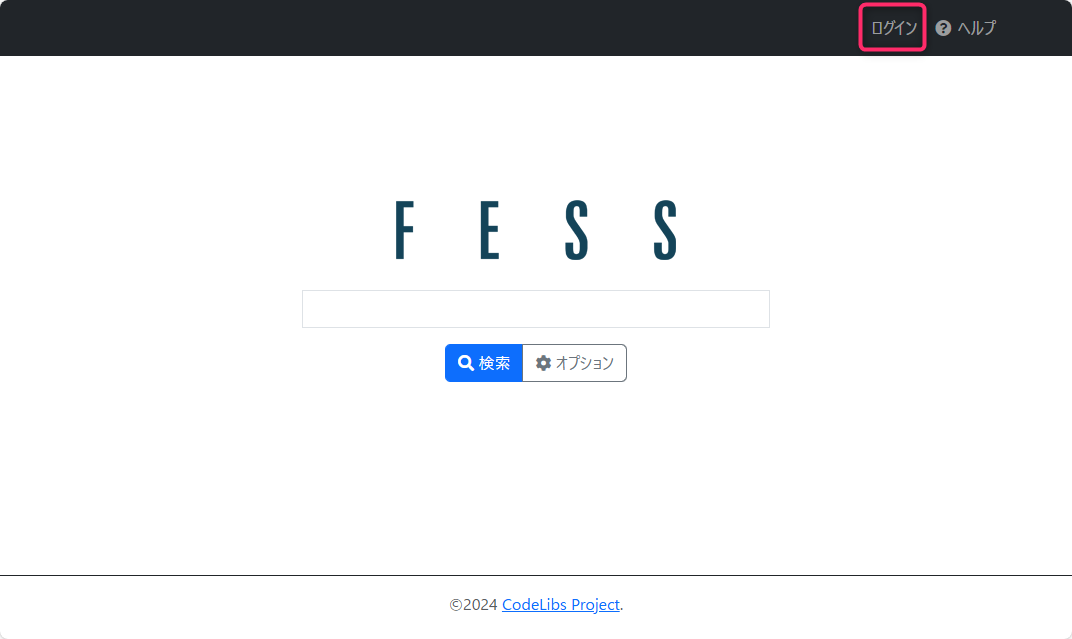
URLからFessの画面に接続し、「ログイン」をクリックします。
http://<ホスト名 or IPアドレス>:8080/
管理者ユーザーとパスワードを入力し「ログイン」をクリックします。
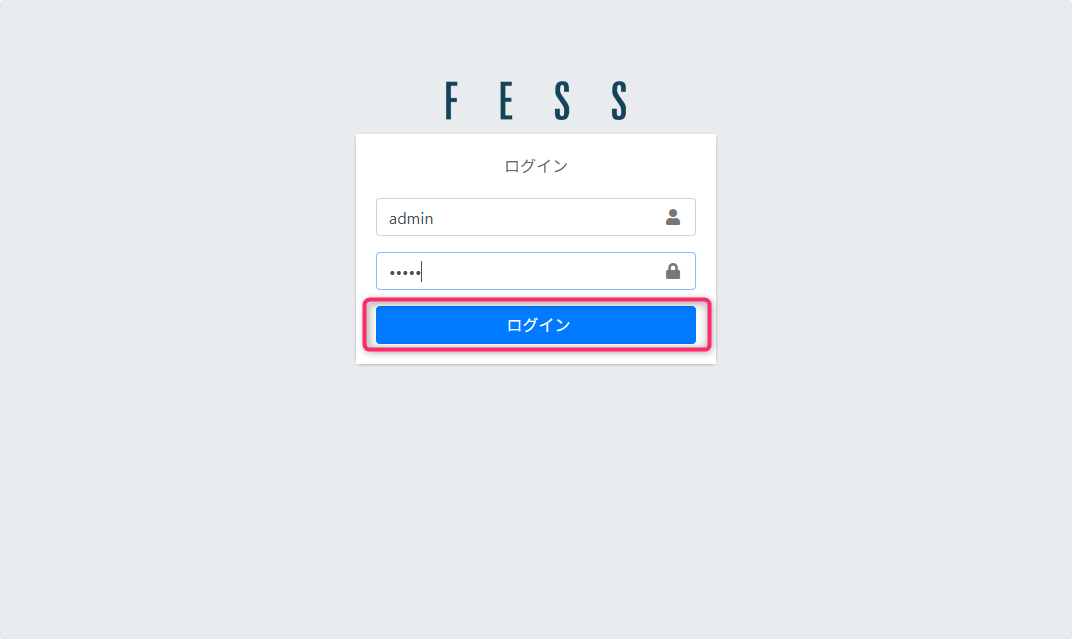
デフォルトは、ユーザー名:admin、パスワード:adminです。

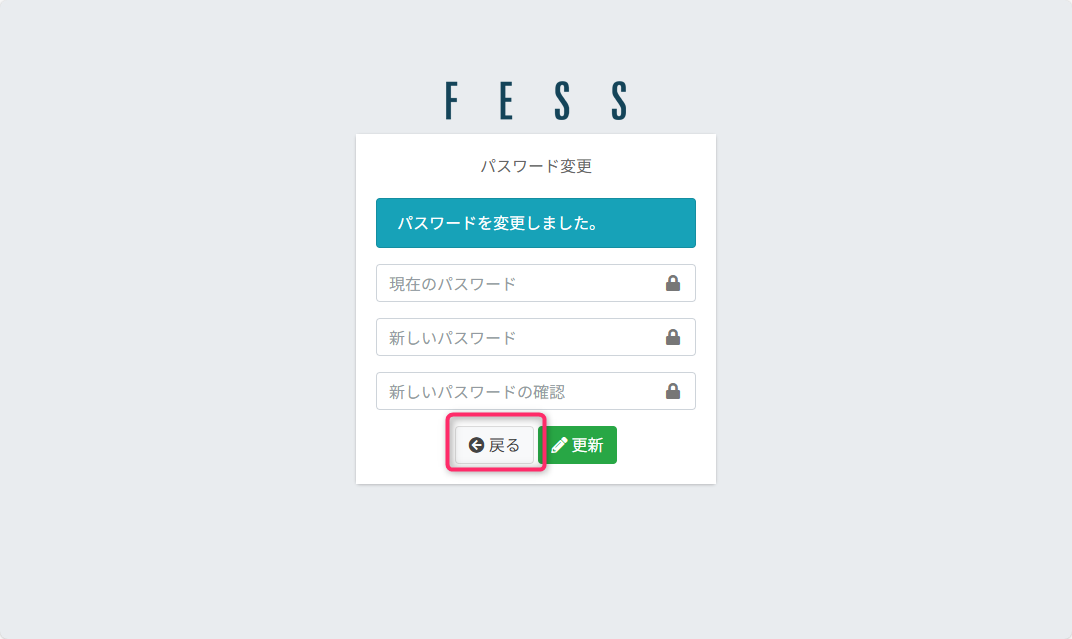
新しいパスワードを入力し「更新」をクリックします。

パスワードが変更されたことを確認し「戻る」をクリックします。
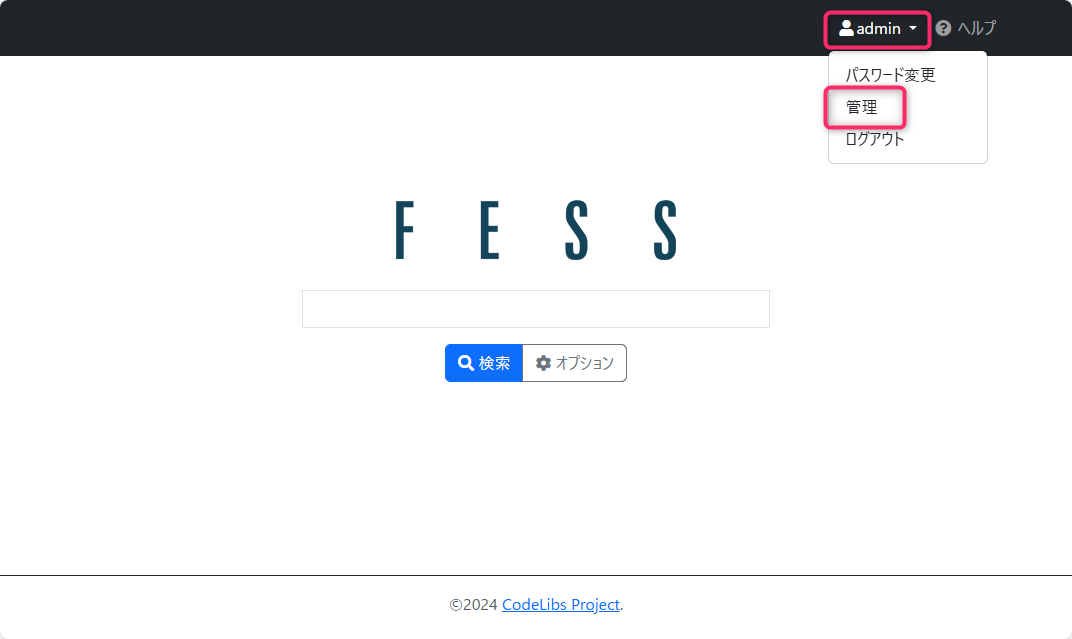
adminでログインしている状態なので、右上のユーザー名から「管理」をクリックします。
管理画面が表示されます。

自動起動有効
正常にログインも行えたので、OpenSearchとFessの自動起動を有効にしておきます。
# systemctl enable opensearch.service
# systemctl enable fess.service
Appendix
OpenSearchにdemo設定が入ってしまう
「plugins.security.disabled: true」を設定する前に、OpenSearchを初回起動すると、セキュリティ機能によりデモ用の設定が自動的にされてます。
デモ構成について簡易な説明はあるものの、どのような違いがあるのか説明されていなかったのでメモしておきます。


securityadmin_demo.shスクリプトが自動生成されます。
# ls -lha /etc/opensearch/ | grep securityadmin_demo.sh
-r-x--x--x 1 opensearch opensearch 252 Aug 5 11:00 securityadmin_demo.sh
証明書ファイルが自動生成されます。
# ls -lha /etc/opensearch/ | grep pem
-rw-r--r-- 1 opensearch opensearch 1.7K Aug 5 11:00 esnode-key.pem
-rw-r--r-- 1 opensearch opensearch 1.5K Aug 5 11:00 esnode.pem
-rw-r--r-- 1 opensearch opensearch 1.7K Aug 5 11:00 kirk-key.pem
-rw-r--r-- 1 opensearch opensearch 1.7K Aug 5 11:00 kirk.pem
-rw-r--r-- 1 opensearch opensearch 1.7K Aug 5 11:00 root-ca.pem
設定ファイルにデモ用の設定が埋め込まれます。
 # cat /etc/opensearch/opensearch.yml
--一部抜粋
######## Start OpenSearch Security Demo Configuration ########
# WARNING: revise all the lines below before you go into production
plugins.security.ssl.transport.pemcert_filepath: esnode.pem
plugins.security.ssl.transport.pemkey_filepath: esnode-key.pem
plugins.security.ssl.transport.pemtrustedcas_filepath: root-ca.pem
plugins.security.ssl.transport.enforce_hostname_verification: false
plugins.security.ssl.http.enabled: true
plugins.security.ssl.http.pemcert_filepath: esnode.pem
plugins.security.ssl.http.pemkey_filepath: esnode-key.pem
plugins.security.ssl.http.pemtrustedcas_filepath: root-ca.pem
plugins.security.allow_unsafe_democertificates: true
plugins.security.allow_default_init_securityindex: true
plugins.security.authcz.admin_dn: ['CN=kirk,OU=client,O=client,L=test,C=de']
plugins.security.audit.type: internal_opensearch
plugins.security.enable_snapshot_restore_privilege: true
plugins.security.check_snapshot_restore_write_privileges: true
plugins.security.restapi.roles_enabled: [all_access, security_rest_api_access]
plugins.security.system_indices.enabled: true
plugins.security.system_indices.indices: [.plugins-ml-agent, .plugins-ml-config, .plugins-ml-connector,
  .plugins-ml-controller, .plugins-ml-model-group, .plugins-ml-model, .plugins-ml-task,
  .plugins-ml-conversation-meta, .plugins-ml-conversation-interactions, .plugins-ml-memory-meta,
  .plugins-ml-memory-message, .plugins-ml-stop-words, .opendistro-alerting-config,
  .opendistro-alerting-alert*, .opendistro-anomaly-results*, .opendistro-anomaly-detector*,
  .opendistro-anomaly-checkpoints, .opendistro-anomaly-detection-state, .opendistro-reports-*,
  .opensearch-notifications-*, .opensearch-notebooks, .opensearch-observability, .ql-datasources,
  .opendistro-asynchronous-search-response*, .replication-metadata-store, .opensearch-knn-models,
  .geospatial-ip2geo-data*, .plugins-flow-framework-config, .plugins-flow-framework-templates,
  .plugins-flow-framework-state, .plugins-search-relevance-experiment, .plugins-search-relevance-judgment-cache]
node.max_local_storage_nodes: 3
######## End OpenSearch Security Demo Configuration ########
他、OpenSearchの内部ユーザーデータベースも設定されます。内部ユーザーとして作成されるのは、下記で定義されている内容です。このファイルはデフォルトで存在しますが、OpenSearchのセキュリティ機能を無効にしておけば無視される(内部ユーザは作成されない)動きになるようです。
# cat /etc/opensearch/opensearch-security/internal_users.yml
---
_meta:
  type: "internalusers"
  config_version: 2
admin:
  hash: "xxxxxxxxxxxxxxxxxxxxxxxxxxxxxxxxxxxxxxxxxxxxxxxxxxxxxxxxx"
  reserved: true
  backend_roles:
  - "admin"
  description: "Demo admin user"
anomalyadmin:
  hash: "xxxxxxxxxxxxxxxxxxxxxxxxxxxxxxxxxxxxxxxxxxxxxxxxxxxxxxxxx"
  reserved: false
  opendistro_security_roles:
  - "anomaly_full_access"
  description: "Demo anomaly admin user, using internal role"
kibanaserver:
  hash: "xxxxxxxxxxxxxxxxxxxxxxxxxxxxxxxxxxxxxxxxxxxxxxxxxxxxxxxxx"
  reserved: true
  description: "Demo OpenSearch Dashboards user"
kibanaro:
  hash: "xxxxxxxxxxxxxxxxxxxxxxxxxxxxxxxxxxxxxxxxxxxxxxxxxxxxxxxxx"
  reserved: false
  backend_roles:
  - "kibanauser"
  - "readall"
  attributes:
    attribute1: "value1"
    attribute2: "value2"
    attribute3: "value3"
  description: "Demo OpenSearch Dashboards read only user, using external role mapping"
logstash:
  hash: "xxxxxxxxxxxxxxxxxxxxxxxxxxxxxxxxxxxxxxxxxxxxxxxxxxxxxxxxx"
  reserved: false
  backend_roles:
  - "logstash"
  description: "Demo logstash user, using external role mapping"
readall:
  hash: "xxxxxxxxxxxxxxxxxxxxxxxxxxxxxxxxxxxxxxxxxxxxxxxxxxxxxxxxx"
  reserved: false
  backend_roles:
  - "readall"
  description: "Demo readall user, using external role mapping"
snapshotrestore:
  hash: "xxxxxxxxxxxxxxxxxxxxxxxxxxxxxxxxxxxxxxxxxxxxxxxxxxxxxxxxx"
  reserved: false
  backend_roles:
  - "snapshotrestore"
  description: "Demo snapshotrestore user, using external role mapping"
OpenSearchは外部からアクセスできない
手順通りに進めるとOpenSearchが利用している9200/tcp(REST APIポート)、9300/tcp(クラスタノード間通信ポート)は、localhost(127.0.0.1)からのみアクセス可能で、外部からはアクセスできないようになっています。
/etc/opensearch/opensearch.ymlを特に設定してないときの動きのようですね。
# ss -ltn
State                Recv-Q               Send-Q                                  Local Address:Port                               Peer Address:Port
LISTEN               0                    128                                           0.0.0.0:22                                      0.0.0.0:*
LISTEN               0                    4096                                            [::1]:9200                                       [::]:*
LISTEN               0                    4096                                            [::1]:9300                                       [::]:*
LISTEN               0                    100                                                 *:8080                                          *:*
LISTEN               0                    128                                              [::]:22                                         [::]:*
LISTEN               0                    4096                               [::ffff:127.0.0.1]:9300                                          *:*
LISTEN               0                    4096                               [::ffff:127.0.0.1]:9200                                          *:*
OpenSearchのセキュリティ機能を無効にしているので外部からアクセスできないのは良いことですが、コマンド上からは認証なしでAPIが発行できてしまいます。つまり、OSにログインできるとOpenSearchやデータの操作がすべてできます。これは良くないなぁ…
# curl -X GET "http://localhost:9200/_cluster/health?pretty"
{
  "cluster_name" : "opensearch",
  "status" : "green",
  "timed_out" : false,
  "number_of_nodes" : 1,
  "number_of_data_nodes" : 1,
  "discovered_master" : true,
  "discovered_cluster_manager" : true,
  "active_primary_shards" : 75,
  "active_shards" : 75,
  "relocating_shards" : 0,
  "initializing_shards" : 0,
  "unassigned_shards" : 0,
  "delayed_unassigned_shards" : 0,
  "number_of_pending_tasks" : 0,
  "number_of_in_flight_fetch" : 0,
  "task_max_waiting_in_queue_millis" : 0,
  "active_shards_percent_as_number" : 100.0
}
参考


まとめ
Fessの公式手順がOpenSearchのセキュリティ機能を無効にしているのはモヤモヤしますが、とりあえず使えそうです。Fessの設定ファイルを見ているとセキュリティ機能を有効にして動かすこともできそうですが、公開されているドキュメントで情報が見つからなかったため一旦諦めました。知っている人いれば教えてください(自分で試せとか言わないで)。
/etc/fess/fess_config.properties
# Search Engine

# The type of search engine backend (e.g., default, opensearch).
search_engine.type=default
# The URL of the search engine HTTP endpoint.
search_engine.http.url=http://localhost:9201
# Path to SSL certificate authorities for secure HTTP connections.
search_engine.http.ssl.certificate_authorities=
# Username for authenticating to the search engine.
search_engine.username=
# Password for authenticating to the search engine.
search_engine.password=
# Interval (ms) for heartbeat checks to the search engine.
search_engine.heartbeat_interval=10000